
How to build a dome in minecraft with dome generator
A practical, layer-by-layer guide to planning and building a clean Minecraft dome with the free Minecraft Dome Generator.
 Pixel Circle Builder
A Minecraft dome usually looks easy right up to the moment the curve starts moving inward. The base ring goes down cleanly, the next few layers seem fine, and then one side reaches the roof a block earlier than the other. By that point, finding the original mistake can take longer than rebuilding half the shell.
The Minecraft Dome Generator turns that awkward curve into a sequence of rings you can build one at a time. You choose the diameter, open the first layer, and work upward without having to invent the shape as you go.
What the dome generator actually makes
The tool creates a hollow half-sphere with an open bottom. It is meant for roofs, observatories, greenhouses, temples, arena tops, underwater bases, and any other build that needs a rounded shell rather than a solid mound.
Each green square in the plan represents one block on the current layer. Earlier layers are shown in gray, so you can see how the new ring sits over the structure below it. The finished dome is one block thick; the generator does not fill the interior or add a floor.
The diameter can be anywhere from 3 to 200 blocks. Dome height is roughly half the diameter, rounded up. A 31-block dome and a 32-block dome are both 16 layers tall, but their centers and base rings are different. That distinction matters if the roof needs to line up with a doorway, aisle, beacon, or existing circular wall.
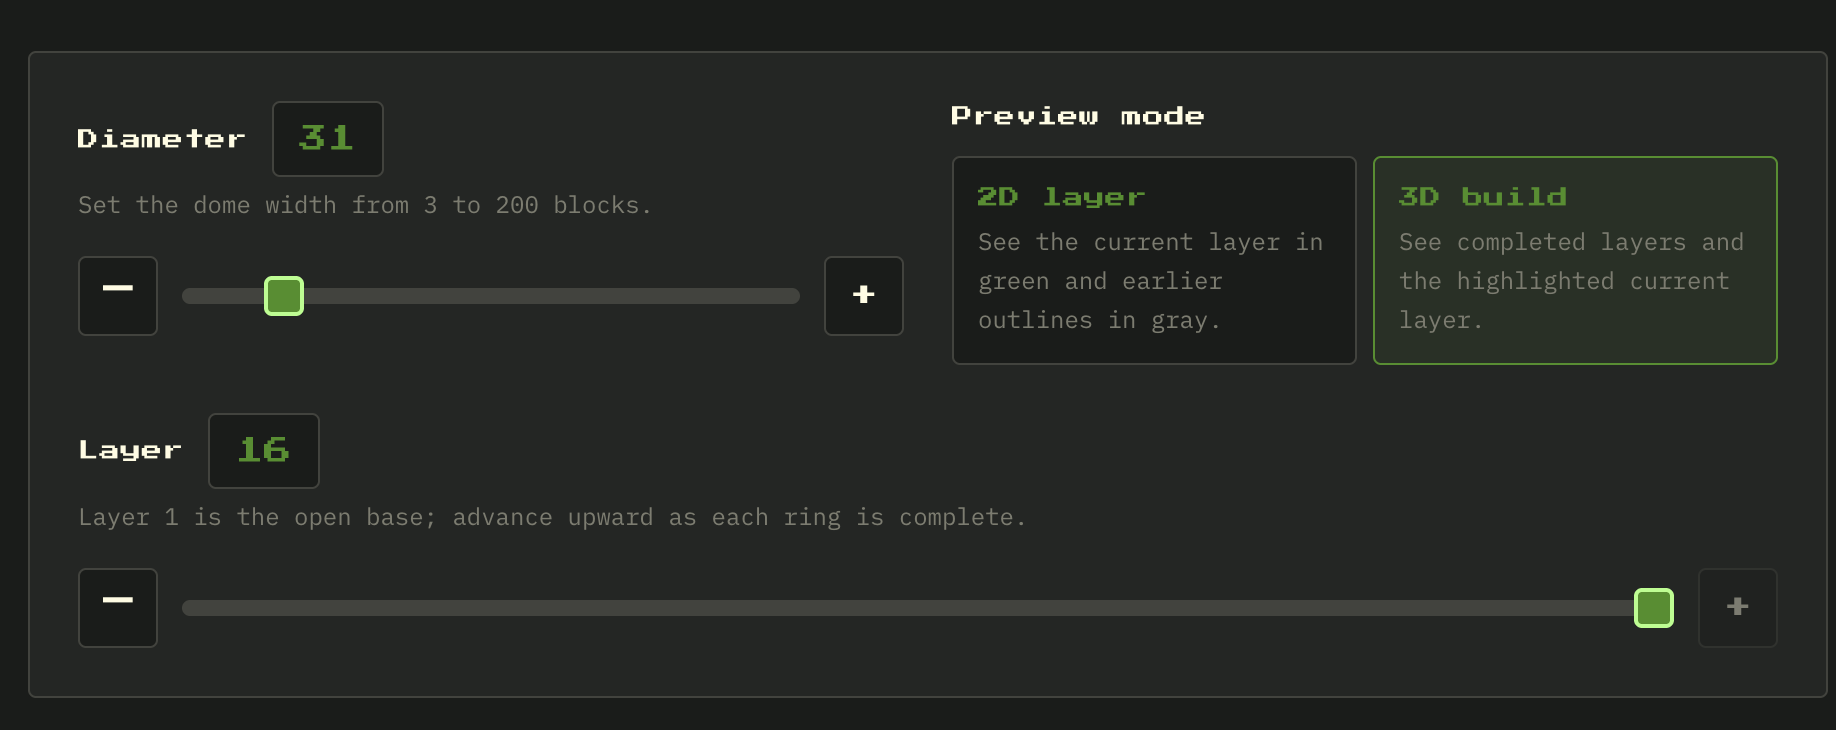
Set the diameter first, choose a 2D or 3D preview, then move through the dome one layer at a time.
Plan the build before placing the first ring
Start by measuring the space in your world, not by picking a number that sounds impressive. If the dome will sit on a wall, measure the outside edge of that wall. If it will cover a room, leave enough clearance for the shell and any supports you want to hide inside it.
Enter that width in the dome blueprint tool, then look at Layer 1. This is the widest ring and the footprint of the entire roof. If it clips a nearby tower or leaves an awkward gap over the entrance, change the diameter now. Moving a slider is cheaper than moving several stacks of stone.
It also helps to decide on materials before you begin. Glass makes counting easy because the outline stays visible from below. Stone, copper, or deepslate gives the shell more weight, but the upper rings can be harder to place without scaffolding. For a survival build, check the total block count and bring a little extra for mistakes and temporary supports.
How to build the dome layer by layer
1. Mark the center and four directions
Find the center of the build and mark north, south, east, and west with temporary blocks. For an odd diameter, the dome sits around a single center block. For an even diameter, the center falls between four blocks.
Do not skip this step. Those four markers make it much easier to notice when one quadrant has drifted out of place.
2. Build Layer 1 in 2D view
Set the preview to 2D layer and move the layer control to 1. Build the green ring exactly as shown. Work from the four direction markers toward the corners rather than starting at one point and walking all the way around. That way, each quarter is checked against the other three while the pattern is still easy to fix.
Layer 1 is the open base of the dome. It is not a filled floor. If your project needs flooring, add it separately after the shell is correctly positioned.
3. Move up one layer, not several
Once the base ring matches the plan, move the slider to Layer 2. The previous outline stays visible in gray and the new ring appears in green. Build only the green blocks.
This is the rhythm for the rest of the dome: finish a ring, compare opposite sides, then advance the slider by one. It can be tempting to copy a pattern from memory, especially when two neighboring layers look similar. Resist that temptation. A single inward step in the wrong place is exactly how a neat dome becomes lopsided near the top.
4. Use the counts as a quick error check
The stats below the preview show the number of blocks in the current layer, the number visible up to that point, and the total for the finished dome.
You do not have to count every block after every ring, but the current-layer number is useful when something feels wrong. If the plan says 44 blocks and you placed 43, walk the ring before continuing. The missing block is much easier to find now than six layers later.
5. Switch to 3D when the curve is hard to read
The 2D plan is best for placement because straight runs and corners are easy to count from above. The 3D build view is better for understanding the overall shape. It stacks the completed layers and highlights the current one, letting you check whether the shell is stepping inward at a believable pace.
The 3D camera is fixed on purpose. There is nothing to rotate or drag, so the view does not jump around while you move between layers. Use it as a progress check, then return to 2D for exact block placement.
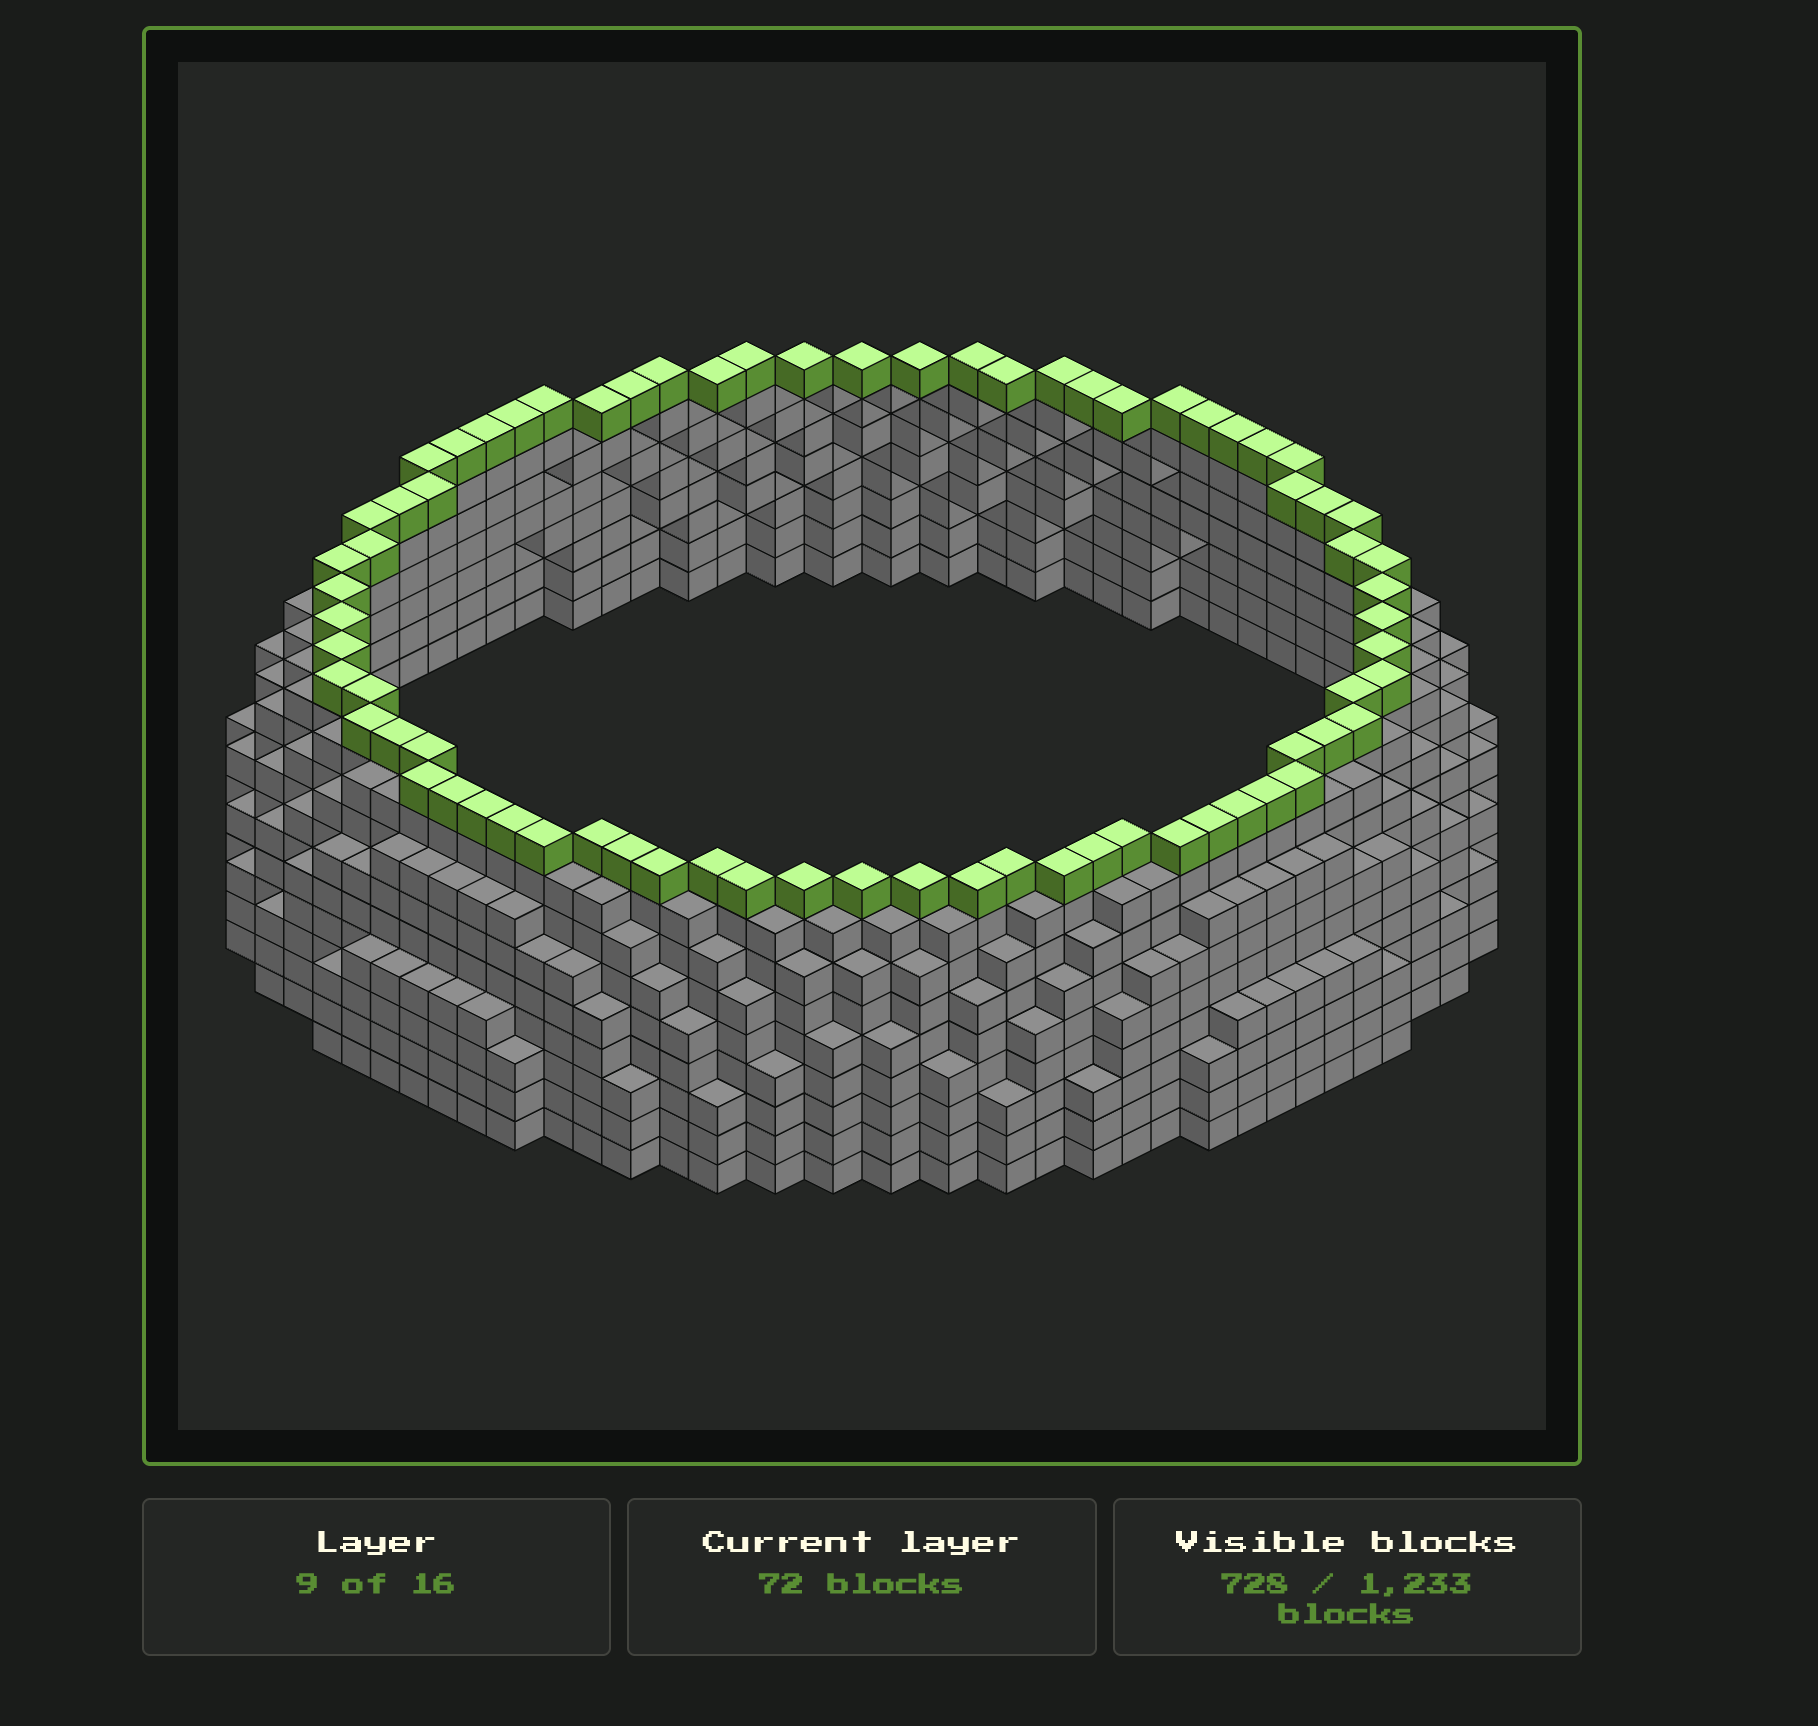
In 3D view, completed rings stay gray while the layer you are building is highlighted in green.
6. Slow down near the crown
The top few layers are small, but they are where mistakes become most visible. The rings contract quickly and blocks often need to be placed over open air. Put up a temporary dirt pillar, an inner frame, or scaffolding before you reach this point.
Finish each upper ring completely before adding the next one. When the final layer closes, inspect the dome from inside as well as outside. A missing block near the crown is often easier to spot against the sky from below.
A building routine that keeps the dome symmetrical
Large domes become much less intimidating when every layer follows the same routine:
- Build the north, south, east, and west points.
- Fill the four quadrants between those points.
- Compare opposite sides from a distance.
- Check the current-layer block count if anything looks uneven.
- Move the generator to the next layer only after the ring is complete.
If several players are helping, give each person one quadrant. Everyone should work from the same four axis points and stop at the same layer. Four people racing ahead on different rings is faster for about five minutes and much slower when the sections fail to meet.
Common mistakes and how to avoid them
Building from the 3D view alone. The model is excellent for understanding the curve, but perspective makes individual runs harder to count. Use the 2D layer for placement.
Treating the gray outlines as blocks for the current ring. Gray shows earlier layers underneath. Only the green outline belongs to the selected layer.
Changing diameter after construction starts. Even a one-block change produces a different set of rings. If the footprint is wrong, rebuild from Layer 1 rather than trying to blend two plans.
Skipping the foundation check. A perfectly generated dome still looks wrong on an off-center wall. Confirm the base ring against the structure below before building upward.
Removing supports too early. Keep temporary scaffolding until the crown is sealed and checked. It is much easier to remove supports at the end than to rebuild access every time you find a gap.
Dome, sphere, or circle?
Use a dome when you need a curved roof with an open bottom. A sphere continues below its widest ring and needs a different layer sequence. If you only need a flat foundation, tower outline, or circular wall, start with the Minecraft Pixel Circle Generator instead.
The block material can change, but the geometry does not. Glass greenhouse, copper observatory, stone arena, or wool model—the same layer plan works for all of them.